How to increase disk size on VirtualBox
VirtualBox is a unique tool that attracts millions of users with its awesome functionality and pleasant interface. With a program, you can easily find all the needed functions for virtualization and even numerous additional utilities to make your work easier. In this detailed manual we will show you how to extend disk size on VirtualBox easily and with minimum efforts.
When you start creating a VM in Virtualbox, you are always required to create a new virtual hard disk. Most users choose a standard storage space of 20GB. However, it may be filled incredibly quickly and you might be looking on increase disk size on VirtualBox.
If you are using a Linux operating system as a host, open the terminal. For Windows systems, open the command prompt and enter the following command:
The “x” means the amount of space that you would like to resize to. For example, if you would like to resize disk from 20GB to 30GB, the command will look like this:
Tap Enter. When the progress bar reaches 100%, the resizing process is successfully completed.
The next step will be getting your OS to recognize the increase in a storage space.
- For Windows OS as a Guest
Click on Start menu and enter “partition” in the special search bar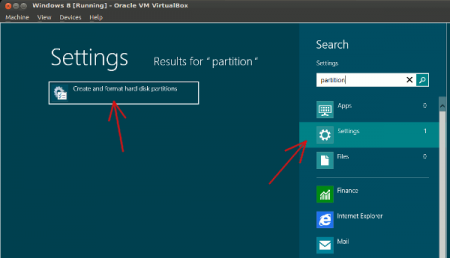
Then choose the “Create and format hard disk partitions” setting.
Then you will be able to see a new blank unallocated partition to the right of the current active partition.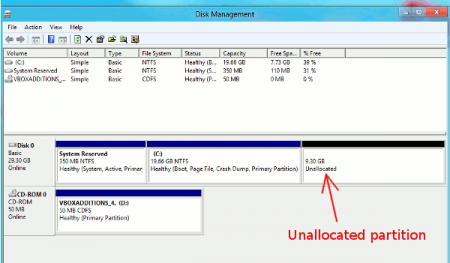
Right click on the active one and choose “Extend Volume”.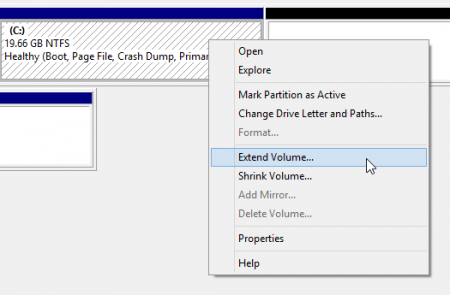
Press Next to continue the process.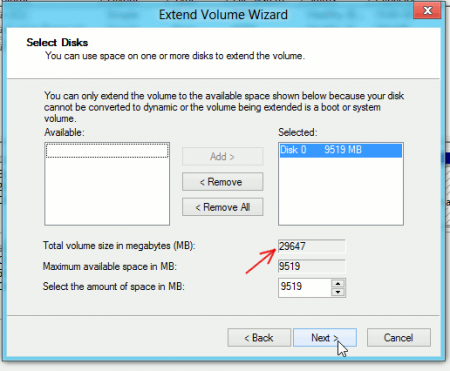
That’s all!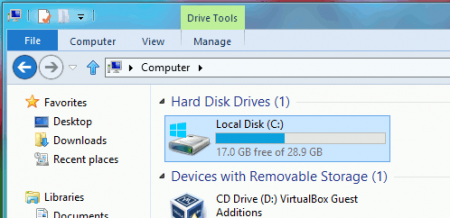
As far as you can see, the process of resizing is quite simple for Windows family. - For Linux Guest
If all you want is to additional space for your data, it will be much easier to format the newly created space and get an access to it as an external partition in OS Ubuntu.
To begin, launch the Linux VM and install Partition Editor tool.
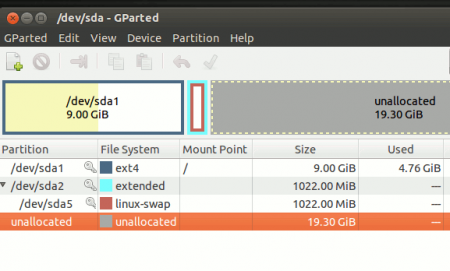
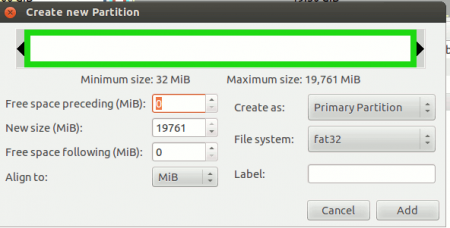
By Running GParted, you would be able to see an unallocated partition. Right click on the it and choose “New”.
In our case, we chose FAT32 for the file system, since it is perfectly supported by Linux and Windows. Click Ok.
“Tick” button at the top of the menu to apply all the changes.
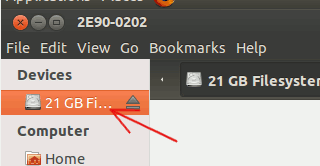
Than open your file manager to mount the newly set partition.
Congrats! The process of extending of disk size is successfully completed!



Similar Materials