How to install Windows 7 on VirtualBox
For the advanced users and technical specialists, it’s crucially important to know how to handle the virtual machine, what options should be set up in order to configure VM properly, and how to run it on the PC. In this article I’m going to tell, how to install Windows 7 on Oracle VM VirtualBox, how to customize it correspondingly and what options should be defined for the correct VM operability.
On the very beginning you should enter the VirtualBox primary form and to generate the new virtual machine in it. In order to bring this intention to life, click the New button on the upper menu.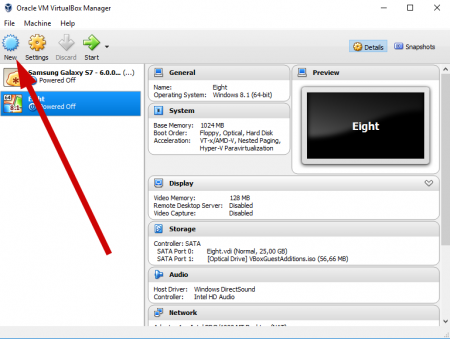
Now we will have to set up the VM settings. On the first iteration of the step-by-step wizard you require to define the name, type and version of the operational system. The name can be absolutely abstract, you can enter any title depending on your imagination and preferences. In the type field, select the platform, on which the new virtual machine will be based. As far as we are going to settle the Windows OS, in the Type field specify the Microsoft Windows value. The version field should contain the Windows 7 value. The only thing, which can be variational, – is the instruction set: 32x- or 64x. Define the corresponding options and move further.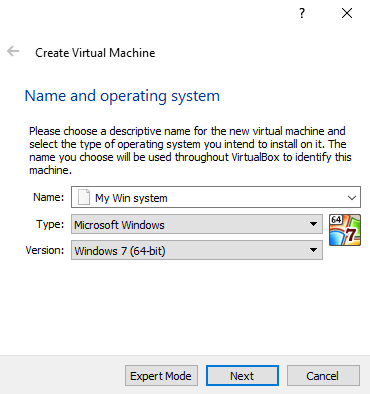
Next form allows to define the RAM-amount, which is specified for the virtual machine. The more RAM you dedicate, the faster the machine would work. At the same time, you need to understand, that this RAM-amount will be cut from the overall memory space of the physical host OS, and you will have to sacrifice the common speed of operations in real environment. So make a reasonable choice, and after that switch to the next set up window.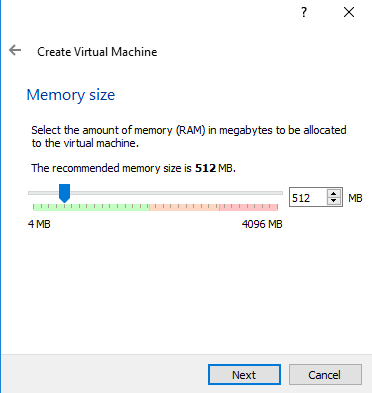
If you haven’t got a virtual hard disk for the machine, create a new one by selecting the “Create a virtual hard disk now” option. You may consider, that at this stage it is not reasonable to specify the hard disk settings, but anyway without it VM won’t work, so it is worth to think about that matter immediately. If you have created virtual hard disk before, you may choose the “Use an existing virtual hard disk file” option and specify the file path manually.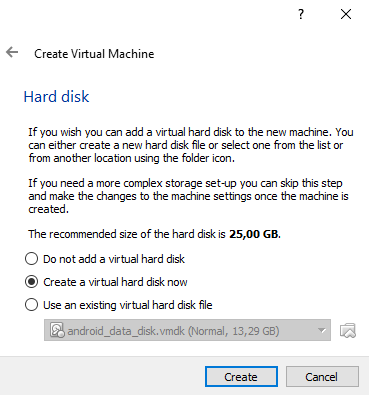
Next phase is specifying the virtual hard disk type. VirtualBox supports three types of virtual HDD: VDI, VHD and VMDK. Thus, you may select any of these three categories.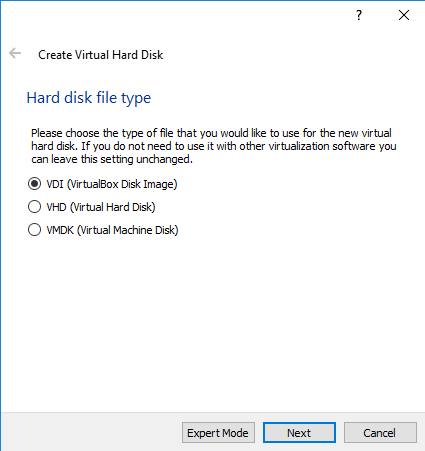
The further setting up iteration is related to the allocation of space on the disk. There are two types of space allocation, available in VirtualBox: dynamically allocated and fixed size. If you don’t know at the moment, how much space would the new guest OS occupy on the virtual hard disk, choose the dynamically allocated HDD-file, as far as its capacity will dynamically increase following the growth of the OS size on the hard disk. If you want to assign the proper disk capacity to the system files, select the second variant, and you will even receive a small increase in the speed of disk operations.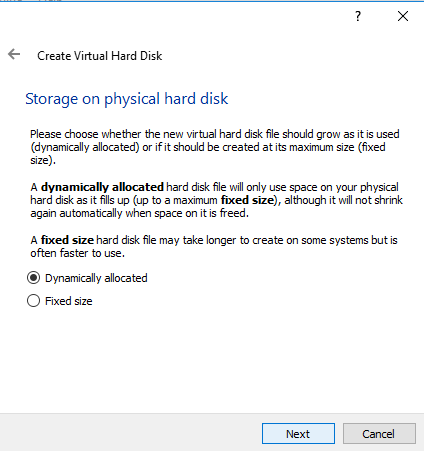
On the last stage you are ought to make a definition of HDD-file size. As you can counter on physical OS size capacity on the HDD-storage device, the same size can be considered in relation to virtual guest operational system. So think over the disk size and make a choice on the last predefined form. Now the initial setup is over, and you may create a VM by clicking the “Create” button.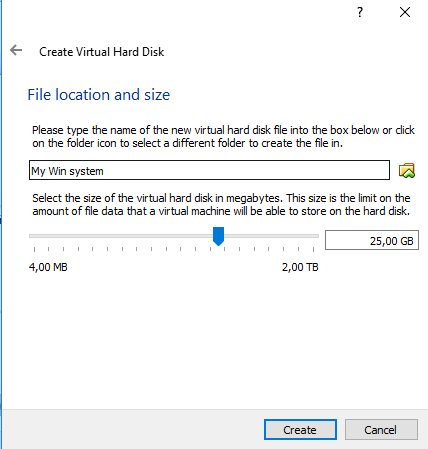
Now, when the install routine is over, the time has come to run Windows 7 on VirtualBox and start working with it with coziness and full comfort, like you do in standard host OS.

Similar Materials