How to install VirtualBox
Oracle VM VirtualBox is one of the best operating systems’ emulators, which allows to run in the virtual environment any of the OS, install the appropriate software in there and configure the settings according to your needs. In this article I am going to describe precisely, how to download and install VirtualBox on Windows OS and how to set it up.
The first thing, which we should do in order to use Oracle VM VirtualBox, is to download the distributive from the official server and to install it onto the hard drive. How can we do it? Primarily let’s visit the official web-resource, dedicated to the VirtualBox emulator, on the following link: https://www.virtualbox.org/.
On the home page we can see the graphical button with the text “Download VirtualBox” displayed on it. Let’s click that button and move further.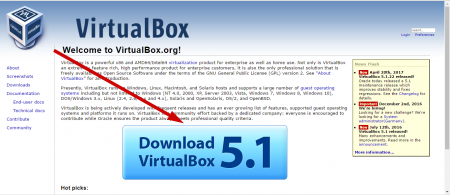
On the new displayed page, the VirtualBox distributives for different operational systems are available. We ought to choose the binary for Windows OS, which is accessible right in the upper part of the form.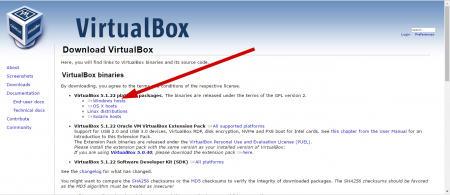
When the download of VirtualBox package is completed, you may get on to the installation routine. Make a double click on the executive EXE-file, and the VirtualBox setup wizard is started. On the first iteration the wizard suggests to initialize the setup routine. After getting acquainted with short description, simply click the “Next” button and move forward.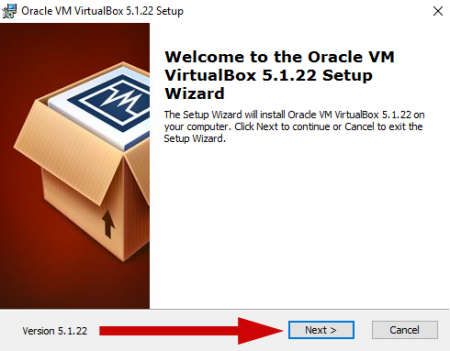
On the second stage we define, what components of the package will be installed onto the hard drive. The node “VirtualBox USB Support” is responsible for the management and connection of the USB-devices to the virtual guest OS. The next item “VirtualBox Networking” allows to arrange and customize the local Ethernet network and connection to the Internet. The last node “VirtualBox Python 2.x Support” is not obligatory, as far as it contains the documentation for the Python script language and its maintenance in the virtual machine. A bit lower the path for storing the app files is located. You can modify the default value by pressing the “Browse” button. Make the appropriate choice and click the “Next” button.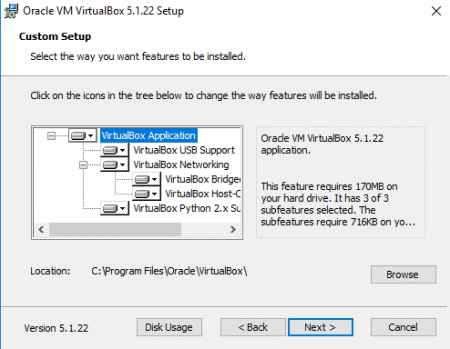
On the next phase we should specify the additional VirtualBox options (for instance, whether the new entries will be created in the start menu or not, or should the shortcuts be added to the desktop and to the Quick Launch bar). These options are not obligatory to be confirmed or denied, they are performed only for your comfort and more usability degree.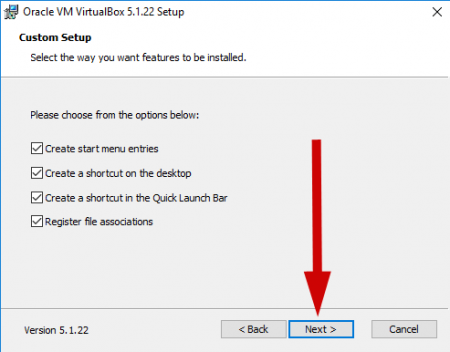
At last, the prior VirtualBox setting up is over. Now the time has come to extract the files from the archive and install them onto the hard drive. Read the short preliminary instruction and initialize the copying routine by clicking the “Yes” button. As the warning says, during the installation of the Networking feature the network connection will be reset and temporarily will turn you off from the web, so be ready for this.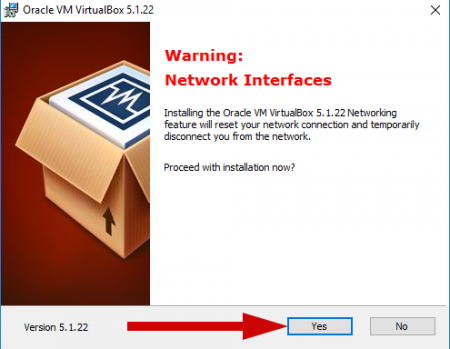
In order to start the copying procedure, click the “Install” button on the next form being displayed.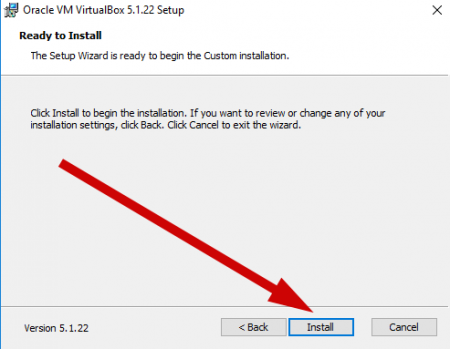
In an instant the files will start to be copied and extracted from the distributive archive to the HDD, so wait a minute or so, till the installation process will be complete. 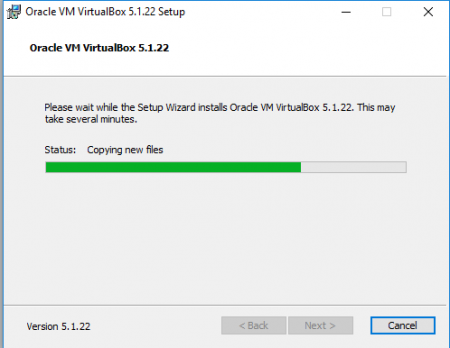
During the setting up the warnings will appear with the confirmation to approve the installation of new software for the hardware devices and controllers. Click the “Install” button, otherwise the program will not be able to be run correctly on your hardware configuration.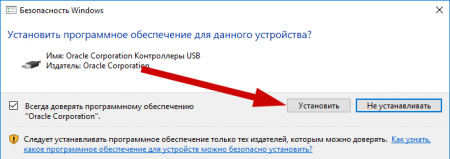
Approximately in a minute all the files will be copied and the installation procedure will be competed. Now you may run the Oracle VM VirtualBox on Windows manually or automatically by setting the proper checkbox on the last form of the wizard.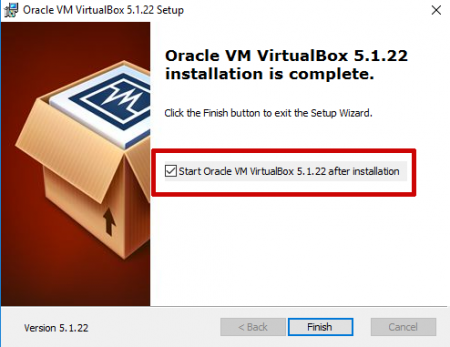
As you may notice, it’s very easy and clearly how to install VirtualBox on Windows OS. By addressing to our step-by-step manual, this algorithm will be even more intuitive for you.

Similar Materials