Installing Windows on Mac OS using VirtualBox
VirtualBox is an ultimate emulator, capable to emulate any operational system in virtual mode and any software, which is runnable on that specific OS. In VirtualBox you receive all the standard working features, that are applicable to the environment, including shared folders, USB-handlers, drag-n-drop mechanism, network connection with the external network card and virtual hardware, the ability to copy file objects from host to guest OS and vice versa, etc. VirtualBox supports almost any contemporary systems, including FreeBSD, Solaris, Linux, Windows and, of course, Mac OS. In this article I’m going to describe, how to install Windows on Mac OS using VirtualBox.
On the first iteration you will have to download the VirtualBox distributive from the official web-site https://www.virtualbox.org/, applicable to the Mac OS environment, and install it onto the hard drive. In order to do this, you will to switch to the “Downloads” page and select an archive, appropriate for the Mac OS system. When the installation archive is downloaded, run it.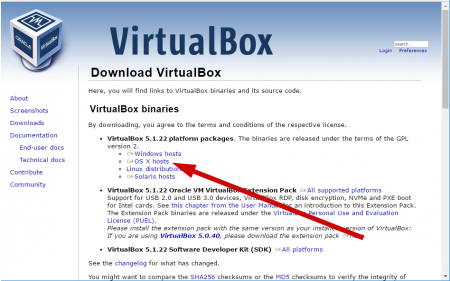
In order to start the setting up process of VirtualBox virtual machine on Mac OS, open VirtualBox app and click the New button, so that the new virtual machine is created.
From now the VM wizard starts, which will accompany you through all the stages of virtual machine generation. The wizard will ask you to input the name of the VM instance, disk size, memory size and OS type.
On the first stage you will be asked for the name of virtual machine and OS type. The name can be absolutely random, think over something bright and special. As far as we are going to emulate Windows OS in our virtual environment, in the “Operating system” field choose “Microsoft Windows” value. The version is specified depending on your desire and preferences. In my case I choose Windows 7 version, you specify the one, which you need.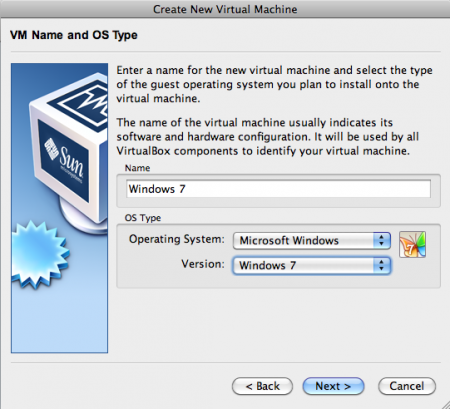
On the next stage the wizard prompts you to specify the amount of RAM, dedicated for the emulated VM. As this space will be used exceptionally on the virtual environment purposes, leave this value set by default.
If you still have not created a virtual disk for emulated system, the wizard will suggest you to create one. In order to do this, click the New button. After that you will have define, whether you require a fixed or dynamic type of disk, its name and size. For each of these options a specific form is designed, so all the operations are performed sequentially, step-by-step.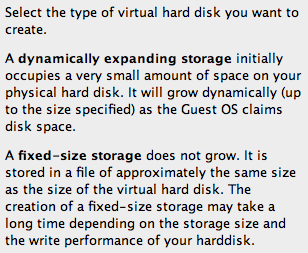
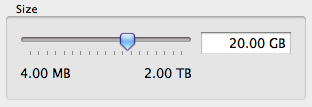
Proceed with the wizard instructions further and at last the new virtual machine would be created. Now the time has come to pick the Windows OS CD/DVD and to configure it in the system. On the start, choose Settings option.
In the Storage category switch to the CD/DVD-ROM tab. If you have a physical CD/DVD disk and an optical device for reading the data from it, choose the Host CD/DVD Drive in the Mount CD/DVD Drive section and click the OK button. If you possess the ISO-file with virtual image of the OS, select the ISO Image File option instead.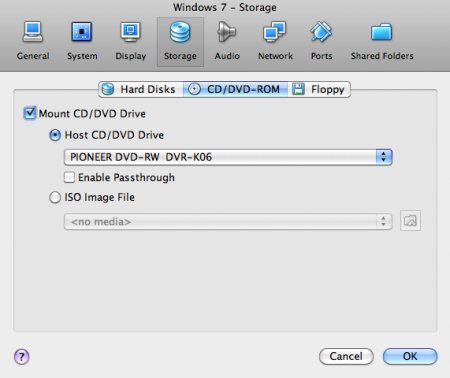
After the settings of the optical disk are completed, click on the new virtual machine pictogram in order to initialize the virtual machine and the Windows installation process. The routine of Windows installation does not differ from ordinary setting procedure on your PC. Follow the displayed instructions and soon the Windows OS will be installed.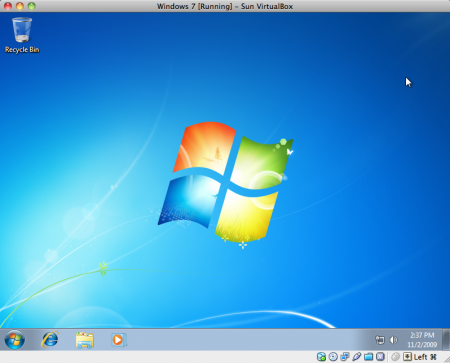
Basically, the interface of VirtualBox on Mac OS is similar to the Windows design, the difference is based on Aqua graphical theme only, which is applicable to all the Mac OS program tools. Try setting up VirtualBox on Mac OS and you won’t be frustrated, that’s for sure.

Similar Materials